
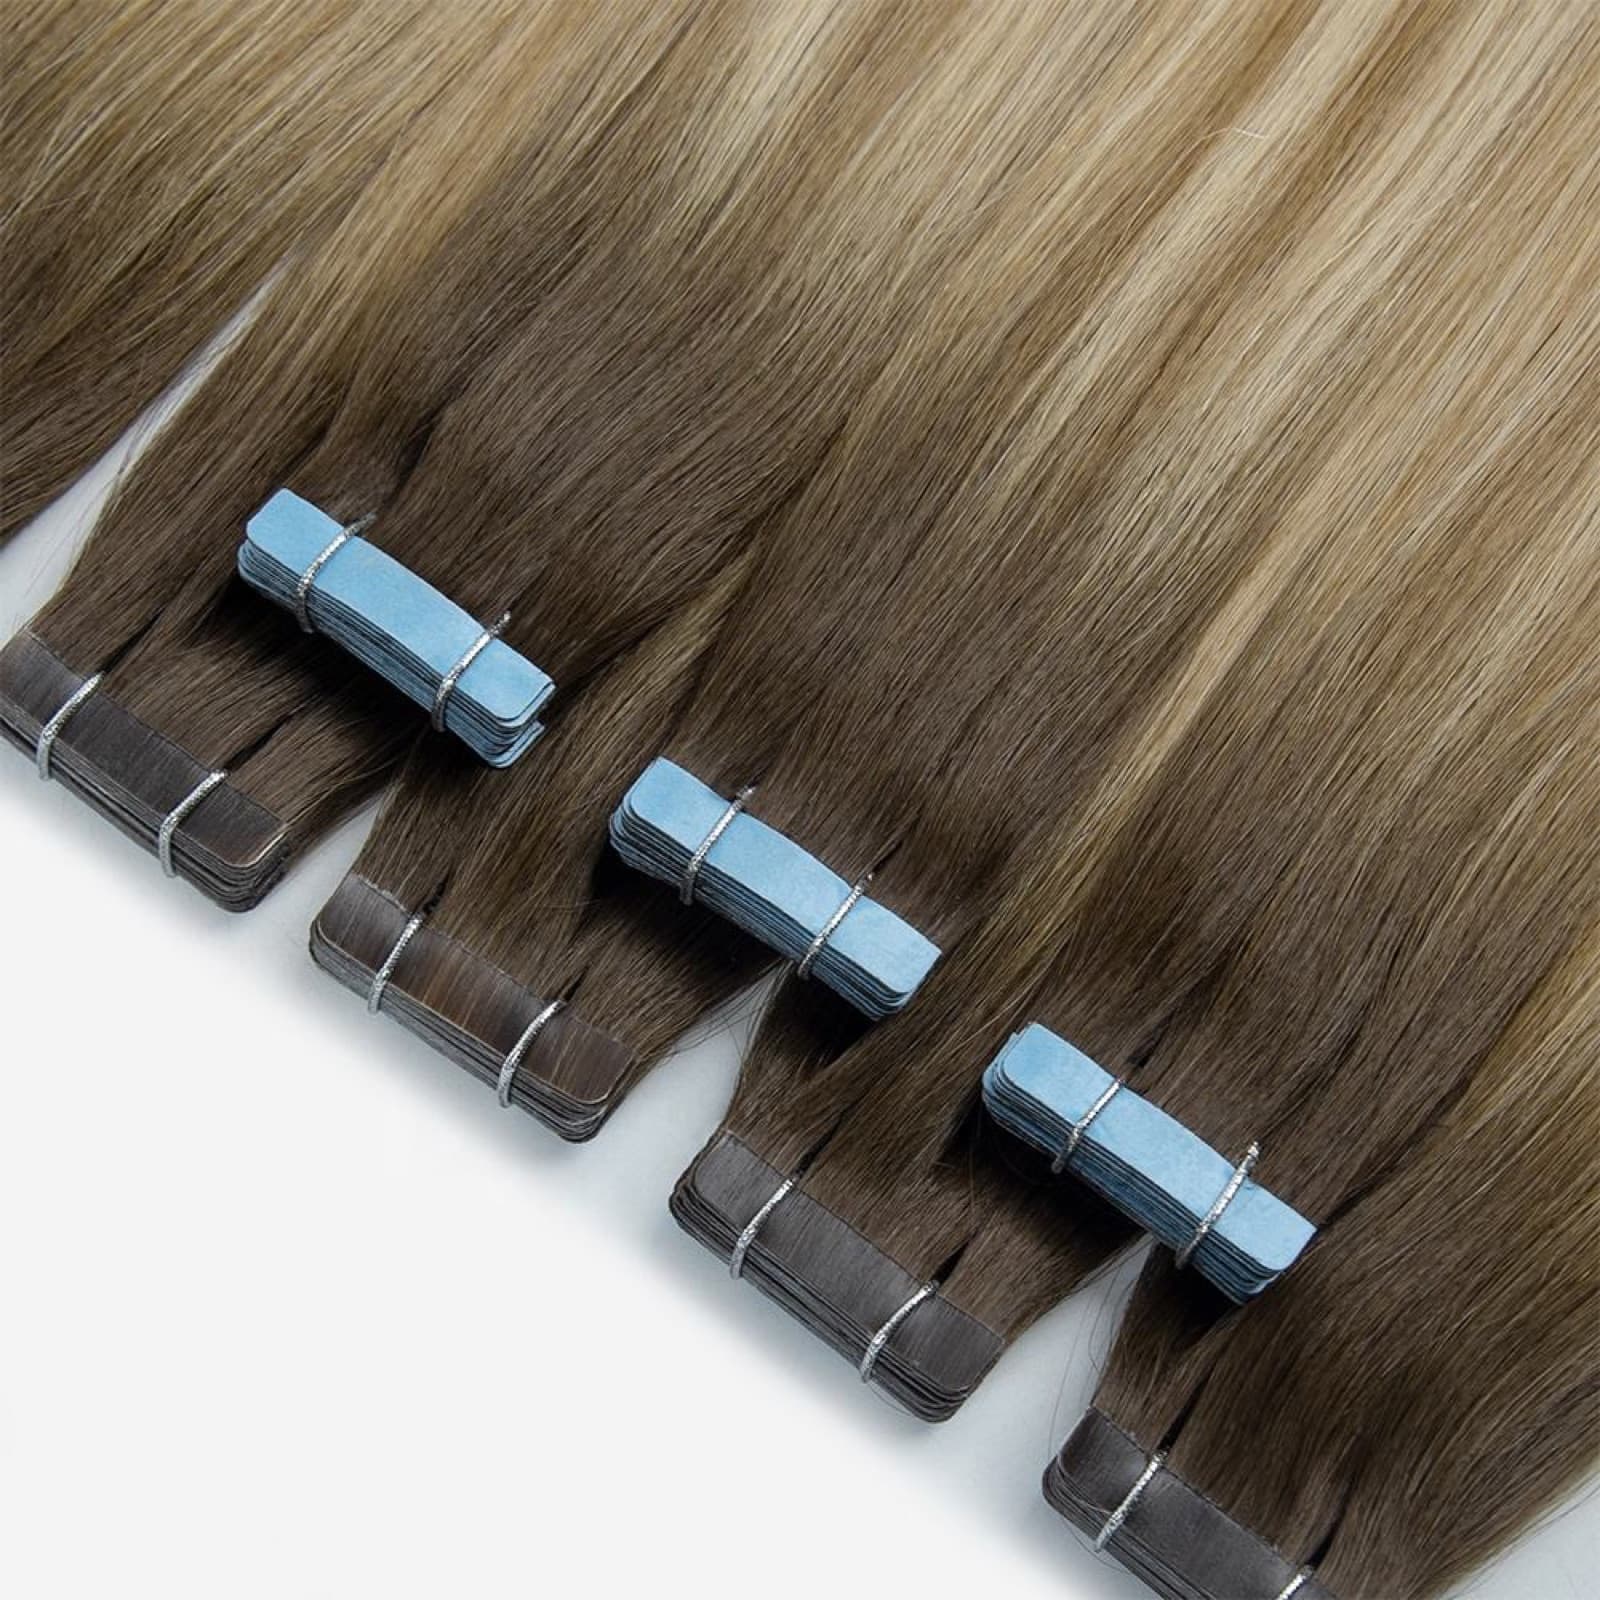
Removing glue hair extensions starts with identifying the attachment and using the removal method specified for that system. A glued weft, a tape-in tab and a keratin bond are different constructions. They should not be treated with one universal solvent or pulled out when an attachment resists.
If you do not know what was installed, contact the original stylist before applying a remover. For professional-only products, keratin bonds, matted roots or an uncomfortable installation, arrange removal with a trained extension specialist. The aim is to release the attachment while minimizing unnecessary pulling on your natural hair.
This guide explains preparation, the differences between methods, residue cleanup and the questions to ask before your next purchase. It draws on published manufacturer instructions and dermatology guidance. WinningWigs supplies extension products; the examples below are planning examples, not reports of client treatments or a substitute for system-specific training.
Identify the attachment before choosing a remover
“Glue extensions” is a broad search phrase. It may refer to a liquid bonding adhesive used on a weft, a factory-made adhesive tape tab or an individual pre-bonded strand. The visible hair does not identify the adhesive chemistry.
| Attachment | What to confirm | Removal planning |
|---|---|---|
| Glue-in weft or track | Weft construction and the exact liquid bonding adhesive | Follow that adhesive manufacturer's remover instructions |
| Tape-in extension | Tab construction, tape reference and compatible release product | Release the installed tab; clean the detached tab separately |
| Keratin or fusion bond | Bond system, required remover and removal tool | Use a trained professional familiar with that system |
| Beads, rings, thread or clips | Whether the attachment is actually mechanical | Use the appropriate method instead of adding glue remover |
Ask for the product name, installation record or original packaging. A photograph can help a stylist locate a tab or bond, but it does not establish which remover is compatible. If several attachment methods were used, each needs to be identified.
Our Regular Tape-In extensions and Flat Tip extensions illustrate two separate product formats. Flat Tip should also be distinguished from Flat Weft: similar names do not mean the same attachment or removal process.
Prepare for removal before opening the bottle
A useful removal appointment begins with information. Tell the stylist when the extensions were fitted, which maintenance visits have occurred and whether you have already applied oil, conditioner or another remover. Mention tangling, discomfort and recent coloring or chemical processing.
Bring the attachment reference and the actual remover label if available. Read its directions, intended use, precautions and storage information. Follow any manufacturer-required sensitivity testing. A product intended to clean a detached extension is not automatically intended for use on a person's hair or scalp.
Check the hair and scalp first
Pain is a reason to reassess the installation promptly. The American Academy of Dermatology explains that repeated pulling can contribute to traction alopecia and advises professional application and attention to discomfort. Persistent irritation, visible thinning or scalp symptoms deserve appropriate medical assessment.
If the scalp is sore, broken or inflamed, ask for qualified advice before applying removal chemicals. Do not try to overcome discomfort by pulling harder. A stylist can address the attachment; a dermatologist can assess hair loss or a scalp condition.
Organize the workspace and the service
Arrange good lighting, sectioning clips, suitable combs, towels and a clean place for detached pieces. Follow the remover's ventilation, eye-contact and ignition precautions. Keep labels available rather than transferring products into unidentified bottles.
Sectioning should make individual attachments visible without creating additional tension. If roots are matted, do not drag a comb through the mat to reach the adhesive. Arrange professional detangling as part of the appointment and allow the service scope to change after inspection.
Removing glued-in wefts: understand the sequence
For a liquid-bonded track, the release product must match the installed adhesive. The Salon Pro bonding-glue instructions, for example, direct users to its specified remover and warn against pulling. Its Creamy Super Hair Bond Remover is labeled for professional use only. Those directions apply to that product system, not every adhesive sold online.
Use this sequence to understand the appointment and the questions to ask:
- Identify and expose the bonded track so the professional can see the attachment.
- Apply the specified remover where its instructions direct, observing its precautions.
- Allow the product to act according to the current label; do not invent a universal waiting time.
- Release the track gently when the adhesive has loosened sufficiently. Stop if it remains attached or natural hair is being pulled.
- Address remaining residue with the approved cleanup process before washing and assessing the hair.
A resistant area needs reassessment. The stylist may need to check product compatibility, access to the bond or entangled hair. More force is not a substitute for a released attachment. Avoid cutting blindly through a glued area where natural hair may be trapped.
Tape-in removal has two separate cleanup stages
Tape-ins involve releasing the installed extension and then preparing the detached tab if reuse is appropriate. These jobs may call for different products. Check the attachment supplier's instructions instead of assuming every bottle labeled “adhesive remover” performs both tasks.
Release the installed tape without forcing it
Walker Tape's removal guide describes exposing the tape, applying its recommended release product and allowing the adhesive to release before gentle separation. Resistance is a reason to stop and follow the system's further instructions, not to yank the tab away.
Clean detached tabs as a separate task
The same guide distinguishes removing extensions from the client's hair from cleaning old tape off detached wefts. It specifically identifies Weft Release as a detached-weft cleaning product rather than a product for taking extensions out of the client's hair. This distinction is important when selecting supplies.
An attractive tab photograph cannot confirm release time or residue behavior. For Invisible Tape-In extensions, request the current attachment specification and removal guidance for the quoted version. Do not transfer instructions from a different tape merely because the tabs look similar.
Keratin bonds require their own removal system
Individual fusion or keratin attachments need a different plan from a glued track. Their bond construction, release product and tools must be considered together. Do not assume a liquid-weft remover or tape solvent is suitable for the installed bond.
For example, Great Lengths' FAQ specifies removal by its certified stylists, with its removal gel and tool for pre-bonded extensions and a separate spray for its tape system. This is an example of brand-specific instructions, not an endorsement of using those products on another manufacturer's bonds.
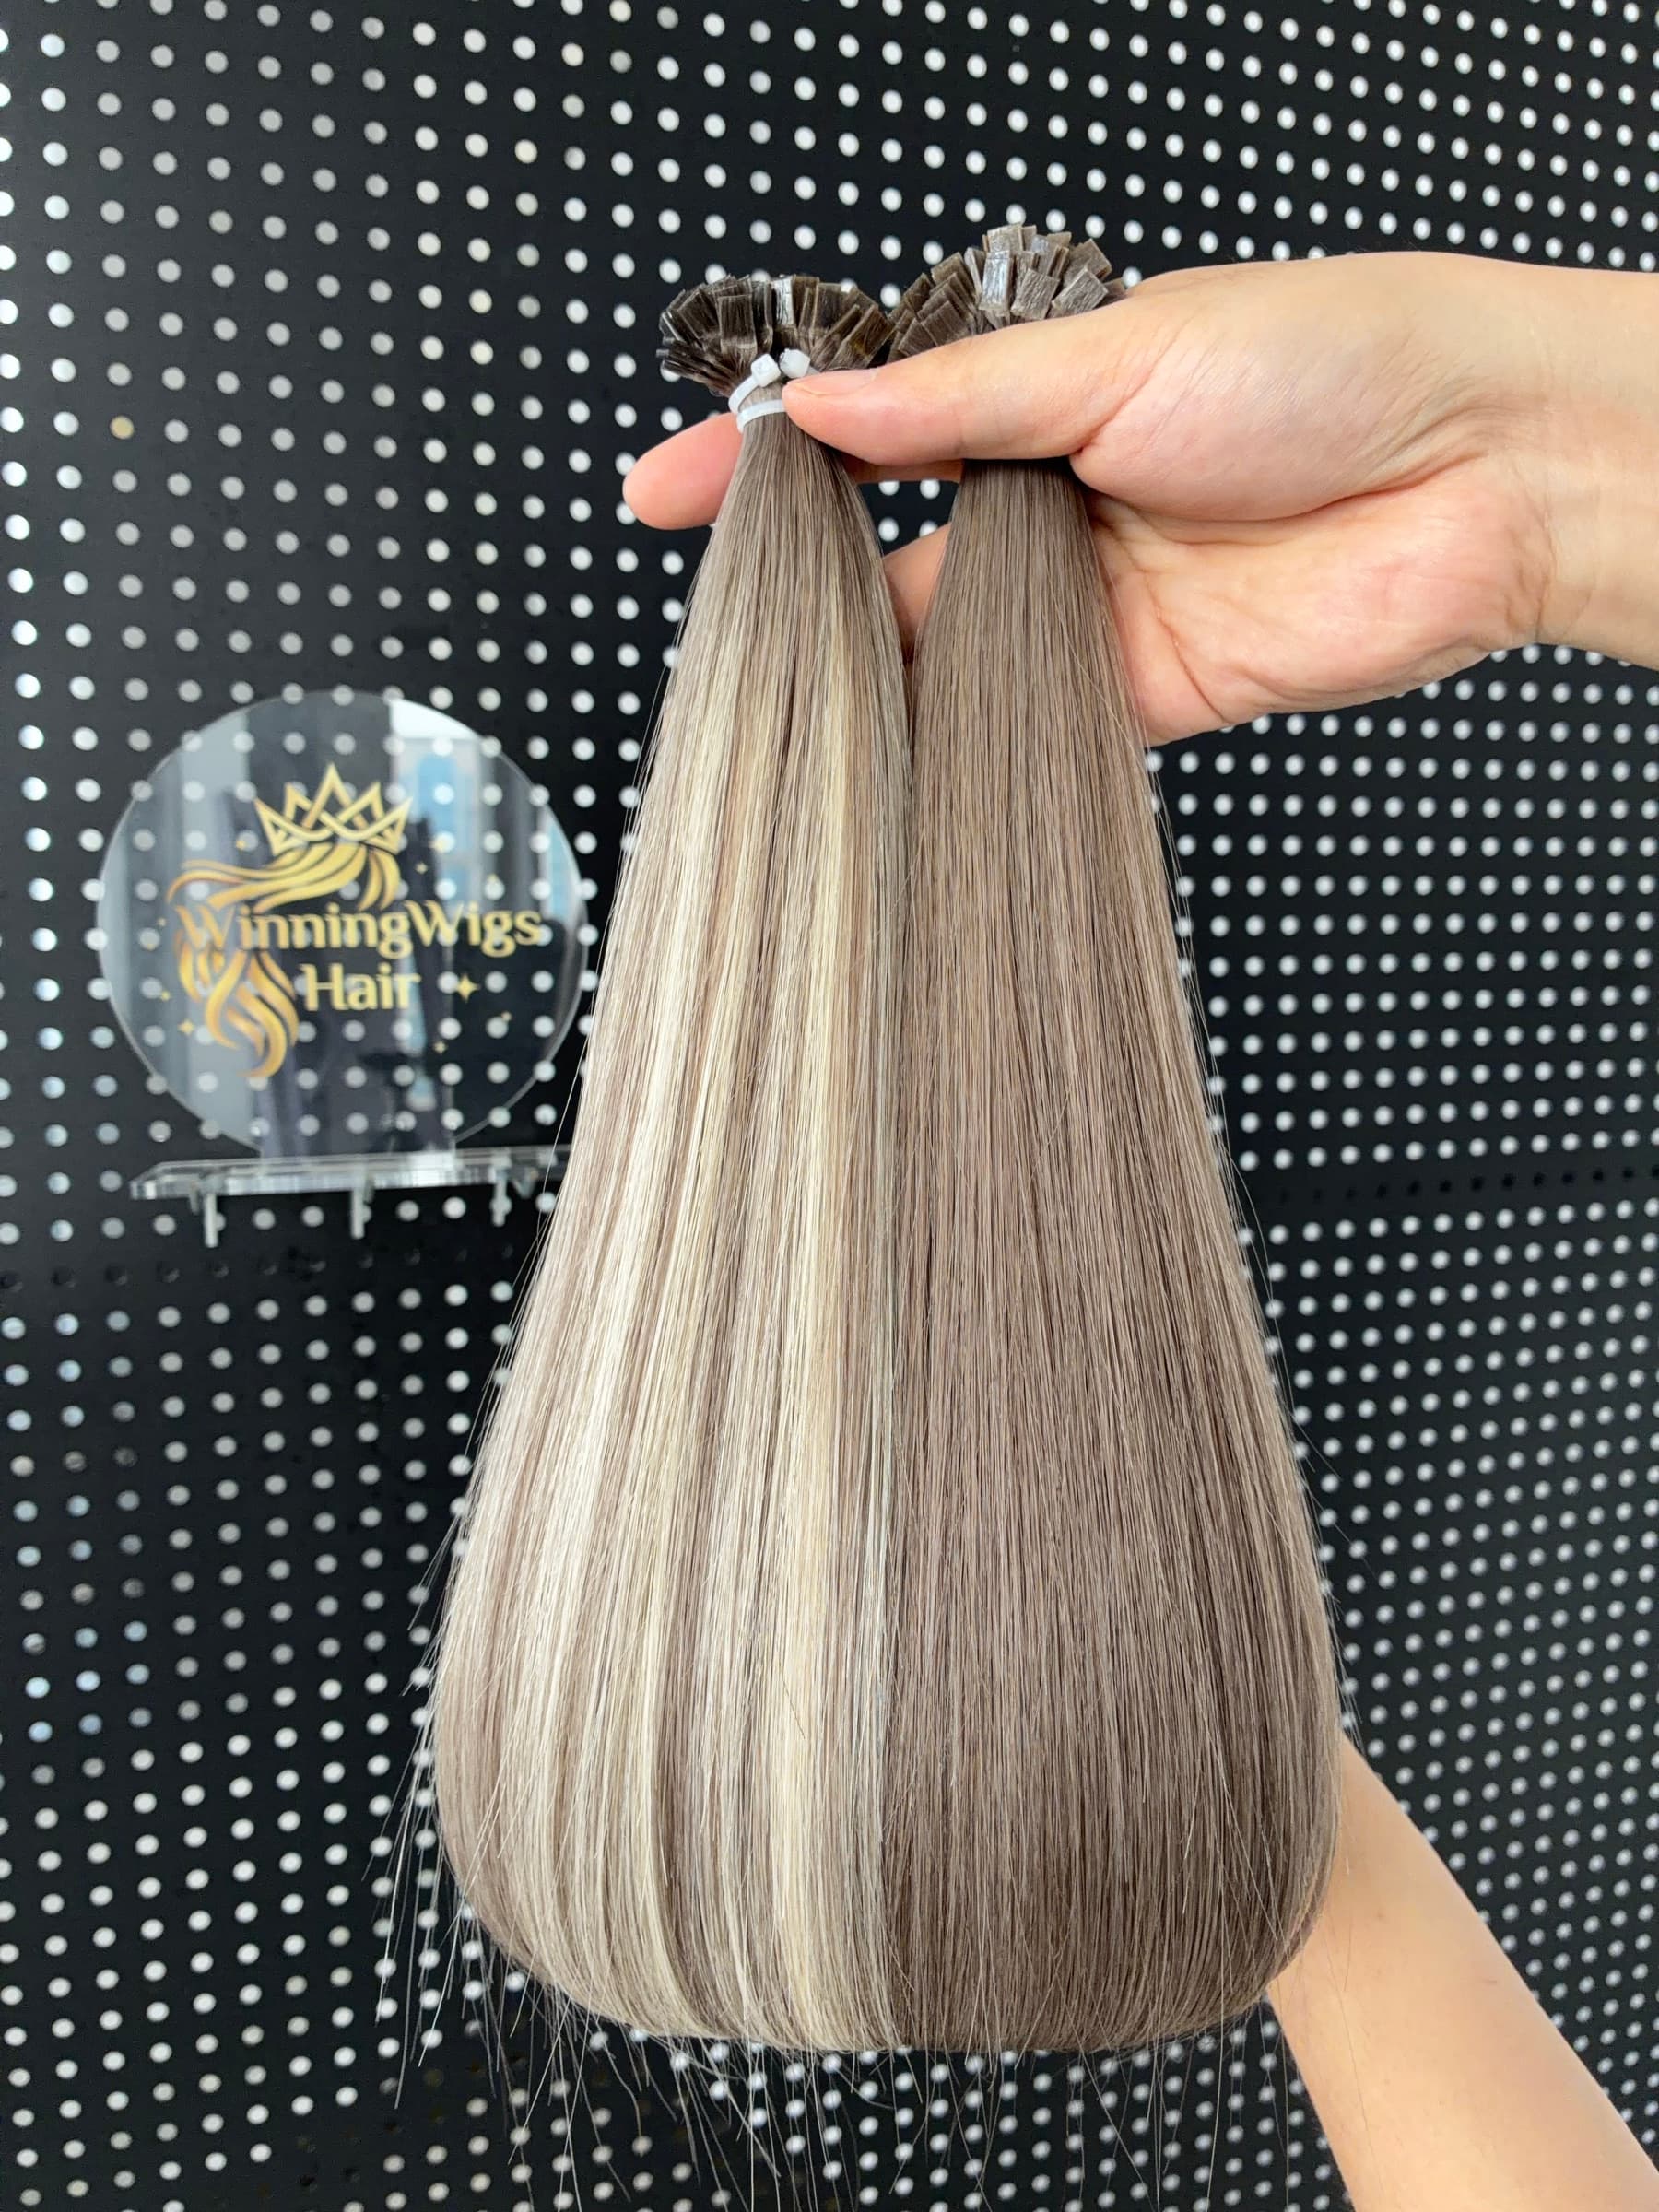
The WinningWigs Flat Tip product is listed for heat-fusion applications. Buyers should confirm the supplied bond shape, application requirements and removal instructions before ordering. Ordinary household pliers, scissors or a hot styling tool should not be improvised into a removal system near natural hair.
Deal with residue without turning cleanup into pulling
Detaching the extension does not necessarily finish the service. Residue may remain on natural hair, while detached tabs or bonds need their own assessment. Identify which surface is being cleaned and which product instructions apply before continuing.
Support the hair while working through a small section. Follow the approved residue process and avoid scraping, aggressive combing or pulling sticky clumps apart. If the area remains tangled, painful or resistant, have a professional continue the work rather than adding unrelated chemicals.
Wash and condition according to the relevant removal and hair-care instructions. Do not assume that repeated harsh shampooing will resolve every adhesive. Natural hair and a detached extension may need different handling, particularly if the extension's attachment is being prepared for reuse.
A common planning mistake is to book only “take out extensions” when the actual job includes removal, detangling, residue cleanup, washing and inspection. Ask which stages the appointment covers. This makes the time and cost discussion more useful than a promise of a quick removal for everyone.
Avoid common home-removal shortcuts
Oil and conditioner are not universal removers. Some commercial removal products use oil-based formulations, but that does not establish that kitchen oil will release your particular adhesive or clean the attachment for reuse. Confirm the actual system rather than relying on an ingredient resemblance.
Do not substitute nail-polish remover, household adhesive solvent or an improvised chemical mixture for the specified cosmetic product. A product's name alone also does not establish suitability: wig adhesive, extension tape and fusion bonds can have different instructions.
Heat used during installation does not automatically make reheating an appropriate removal method. Keep heat tools away from a remover when its precautions prohibit heat or ignition sources. Follow the full label, including instructions for accidental contact or irritation.
If you have already tried several products, tell the stylist what you used and keep the packaging. That information can help them plan the next step. Continuing to experiment because a bottle has not worked is less useful than confirming what is actually attached.
Assess the hair before reinstalling or reusing extensions
After cleanup, check the natural hair and scalp before deciding on another installation. Look for persistent discomfort, obvious breakage, thinning or areas that were difficult to detangle. Do not use a new set to cover a problem that needs assessment.
Hair found during removal does not, by itself, identify the cause or extent of hair loss. A stylist can inspect the installation and handling; a dermatologist can assess ongoing shedding or thinning. Avoid judging the outcome from one photograph or promising that visible loss is automatically normal.
For detached extensions, inspect the hair and attachment separately. A tape-in may need approved replacement tape and preparation; a used fusion strand should not be assumed ready for rebonding. Confirm whether reuse is supported, which work it requires and who performs it.
Installation preparation starts again with the requirements of the chosen attachment. Keep the shade and placement record if the hair is suitable for reuse. If the method changes, reassess quantity, placement and maintenance rather than repeating the previous installation automatically.
What salons should confirm before buying an extension range
Removal is part of a product program's service cost. Before placing a wholesale order, ask what the supplier provides and what the salon must obtain or perform. A lower purchase price does not establish a lower overall service cost.
| Ask the supplier | Why it matters |
|---|---|
| Which attachment and version are supplied? | Connects the sample, instructions and repeat order |
| Which application and removal documents apply? | Helps the installer review the complete service |
| Are removers, tools and replacement materials included? | Separates hair cost from required supplies |
| What testing can be agreed before approval? | Defines the evidence instead of assuming compatibility |
| What changes require a new sample or instruction review? | Helps control attachment substitutions |
For factory testing, agree the product reference, method and acceptance criteria with the supplier. A proposed sample review can record visible attachment condition and the response under an approved preparation and removal procedure. It should not be described as proof of universal scalp safety or damage-free wear.
During shipment inspection, compare the supplied attachment, shade, length, pack configuration and labeling with the approved order. Retain the instructions and sample reference with the purchasing record. If a component changes, review the documentation before product application on clients.
Build customer requirements into the consultation and care card: intended result, maintenance access, removal appointment and who to contact if discomfort occurs. For a broader selection discussion, see our guide to finding a reputable extension salon.
FAQ
What is the best way to remove glue hair extensions?
Identify the installed attachment, obtain its current removal instructions and use the specified product and technique. Arrange a trained professional for professional-only products, fusion bonds, matting or uncertainty. Release the attachment before attempting separation; do not pull through resistance.
Can I use oil to remove extension glue?
Some purpose-made removers are oil-based, but ordinary oil is not a confirmed substitute for every adhesive. Ask the installer or manufacturer which product applies. Also confirm residue cleanup and any preparation required before reinstalling.
Are tape-in remover and keratin bond remover interchangeable?
Do not assume they are. Tape tabs and individual fusion bonds are different systems. Verify the specific attachment, release product and tools. Manufacturer instructions for one brand should not be transferred to another without confirmation.
How long does removing glue hair extensions take?
Timing depends on the method, number of attachments, adhesive condition, tangling and cleanup required. Ask for an estimate after the stylist reviews the installation. A remover's waiting time is not the same as the duration of the complete appointment.
What should I do if glue remains in my natural hair?
Follow the approved residue instructions and avoid aggressive combing. If the area is still sticky, matted or painful, have a professional reassess it. Do not keep adding different solvents or cut near the attachment without seeing the natural hair clearly.
Can extensions be reused after removal?
Sometimes, depending on the system and condition. The hair, tab or bond must be assessed separately. Confirm approved cleaning, replacement materials and preparation with the supplier and installer; removal alone does not establish that a piece is ready to reinstall.
Can removing extensions cause hair loss?
Forceful handling can contribute to breakage, and repeated pulling from an installation can affect hair and follicles. Seek professional help with resistant attachments and dermatology advice for persistent pain, irritation or visible thinning. No removal guide can guarantee an identical outcome for every wearer.
Conclusion
Removing glue hair extensions requires an identified attachment, a compatible removal system and gentle handling. Separate glued tracks, tape tabs and keratin bonds; plan residue cleanup and assess the natural hair before another installation.
For salons and brands, clear removal information belongs in sample approval, staff preparation and client aftercare. Choosing the product and planning its full service cycle together creates a more useful purchasing decision.
Sources and image notes
Reviewed November 4, 2026: the manufacturer instructions linked above from Salon Pro, Walker Tape and Great Lengths, and the American Academy of Dermatology's extension-care guidance. Follow the current directions for the installed system. Product photographs show attachment formats; they do not document removal results, factory compatibility testing or a client's scalp condition.
LET'S TALK ABOUT YOUR PROGRAM
Ready to turn product questions into a clearer brief?
Share your target customer, product category and requirements. Our team will help structure the next sample or quotation conversation.